Showing posts with label Project Blythe. Show all posts

Saturday, May 31, 2014

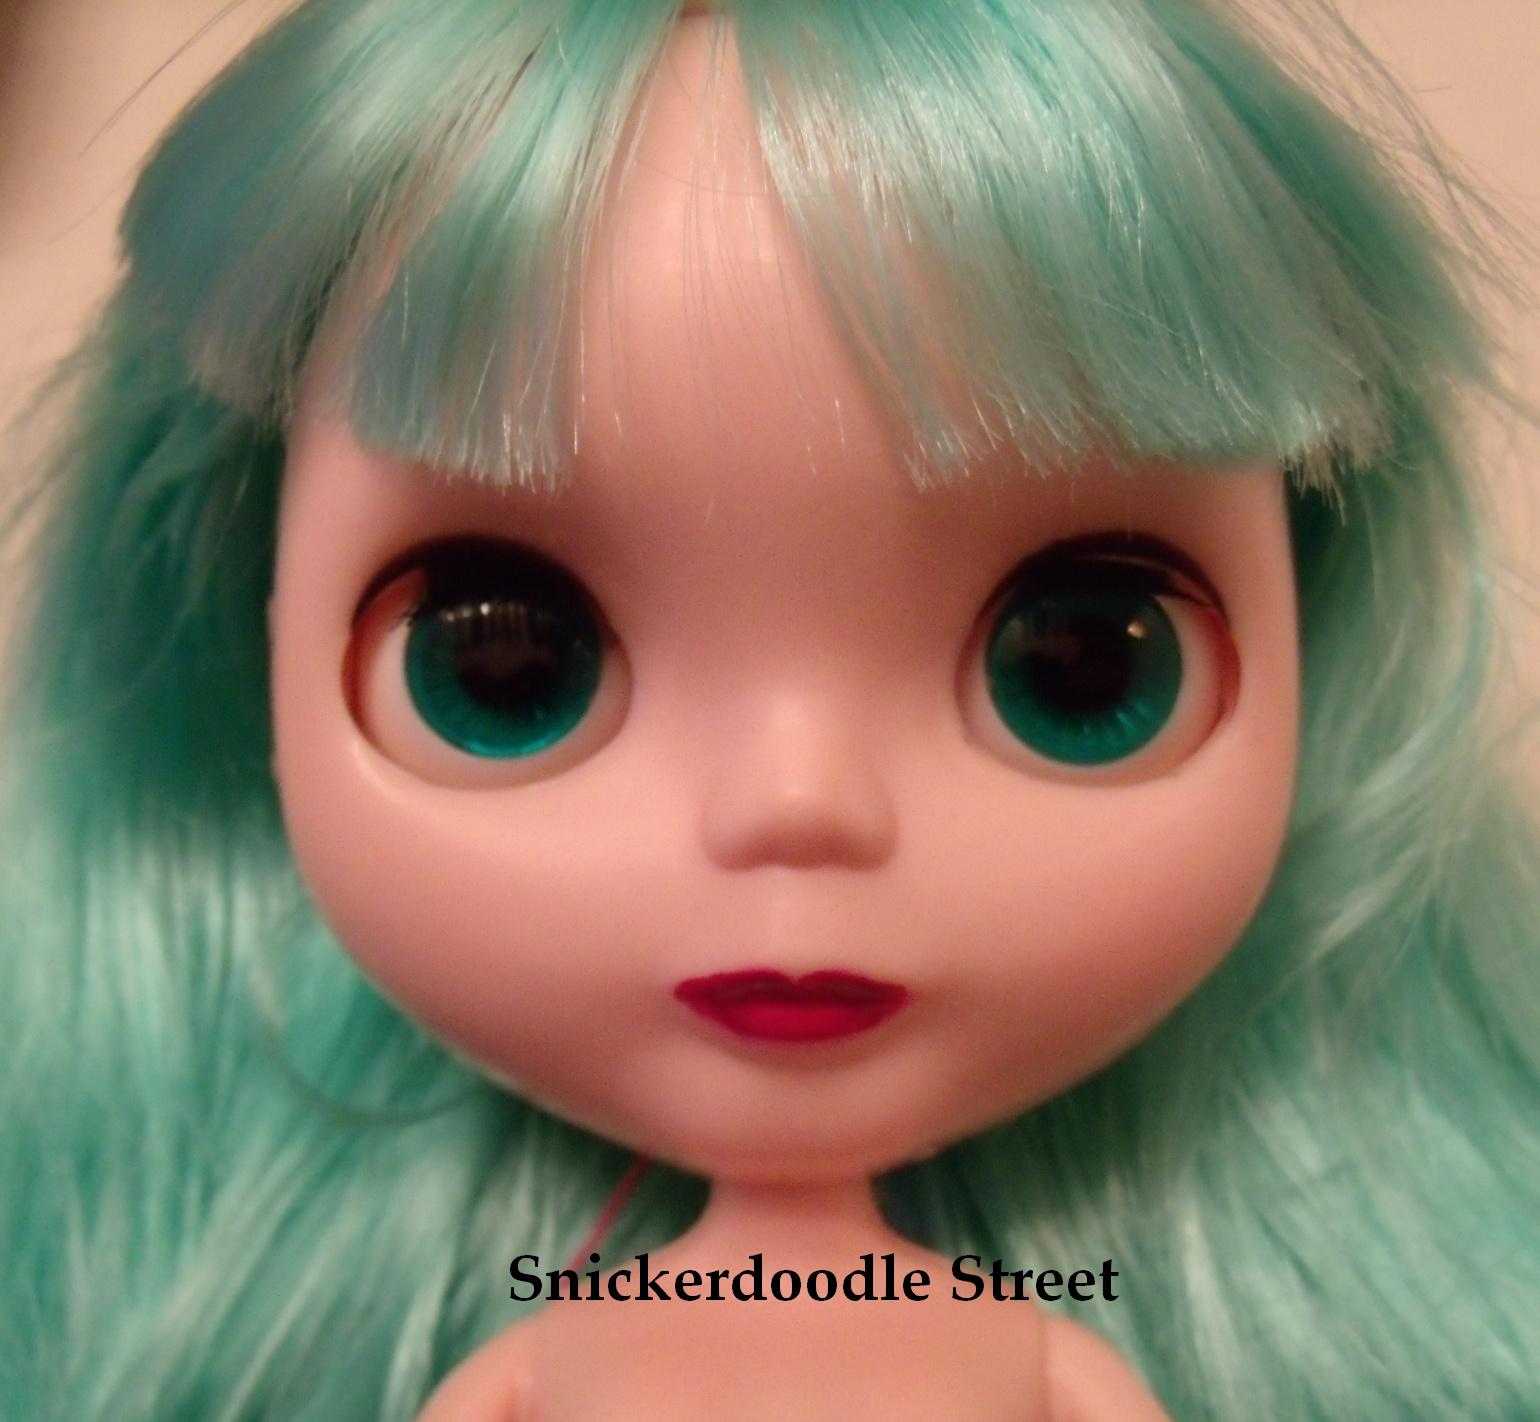
Project Blythe - Eyes and Hair

My factory Blythe dolls have been neglected and I'm trying to finish off the little details.


Finally finished Cleo's eye makeup and check out those pigtails!!!! 
FULL and bouncy!!!


I'm struggling with getting Chantelle's hair FULL in front!


It's GIANT in back!


Next project - Hats!

Wednesday, November 20, 2013

Middie Furniture - Barbie, Blythe

In a previous POST I showed you how to make sofa, loveseat and chairs for your minis/ middies.

This was the loveseat I made for the Blythe house. Barbie or Monster High dolls can easily rest on this size middie furniture. 


 Here is another POST on parson style dining chairs.


Saturday, November 16, 2013

Project Blythe - HTM Furniture

Katie loves pink. 

 Here is a look at an empty tea box that has been covered in contact paper and made into a dresser.  

In the back there's an opening for clothes and shoes to be stored inside.

 Her bed is a box covered in felt, trimmed in lace and draped in bedding that I made from extra fabric.

The nightstands were made using smaller boxes of sugar packets.


 The perfume bottles are erasers.

 HOME SWEET HOME!

Friday, November 15, 2013

Tour - Blythe House

These photos (with cell phone) are from 2011. I used cardboard boxes to make individual rooms covered in scrap book paper for my Blythe dolls.

 Oops Winter is having a bad hair day!


 Wednesday's room


April's room  

 Katie's loves pink

 Autumn's room

 The lower level has a living room with a dining table.

 A fireplace was glued to the wall from a magazine.

 These parson chairs were made using sponges and felt.

 Next to the living room would be the kitchen. Here I painted empty tea boxes covered with magazine photos of appliances. Any home decorating magazine will have appliances, pictures even mirrors to cut out.

Tuesday, August 27, 2013

Project Blythe - Remove the Shine!

In an effort to customize my factory Blythe dolls, I really wanted to eliminate as much "shine" on the face as possible. It was very simple and surprisingly quick to get a more matte look just by using a Magic Eraser!
 Cleo BEFORE
 Cleo AFTER

Along with the shine, the face paint on the cheeks was removed too. There is no way to avoid this because you are working over the entire cheek area.

 In order to brighten Clea's eyes, I simply used clear coat over the eye chip.

Basic nail lacquer changed out her lip color quickly.

Next I hope to straighten her hair for a smoother look and add color/shading around the eyes.

Tuesday, August 13, 2013

Project Blythe - Sleep Eyes

NEO Blythe has a pull string that helps you to change both her eye color and the direction of her gaze. She has four inner eye chips that can be changed out for different colors if desired. I have seen many Blythe's with an added pull chain enabling her to have  "sleep eyes". The process takes A LOT of time and patience. 

I am not going to post step by step photos or a long video of me fumbling about. I do have photos of Chantelle with her added "sleep eyes". 

Yay! I think she looks adorable with this extra chain option. I will include the tutorial video I watched in case you would like to do this for your Blythe.
 Light blue eyes
 Sleep eyes - wearing AG Addy's summer hat.
Green eyes
 Sleep eyes

 She is wearing AG Cecile's Summer bonnet
 Blue eyes
She is wearing Springfield glasses.
 Pink eyes

Monday, July 29, 2013

HTM Doll Closet Room Box

Like many of you I am RUNNING OUT OF SPACE!
My life has been taken over by dolls. Because I have dolls in various sizes, I can not store them in the same places. I decided to make a room in a box where I can house my doll along with her clothing. Sounds 
F A B U L O U S doesn't it?

Supplies:
  • Cardboard box your doll can stand in
  • Scrapbook paper
  • Glue - hot glue, craft glue
  • Stickers, embellishments
  • 1" - 2" wide ribbon 
  • Dowel 

 I began by taping the ends of the box closed, then cut out a "door" on what it is to be the front.

Using scrapbook paper "wallpaper" the interior using glue. For added stability cut two pieces of black foam core and hot glue them to the floor and ceiling.